NAVIGATE

Top 5 Photo Editing Apps (that take your Instagram photos to the next level!)

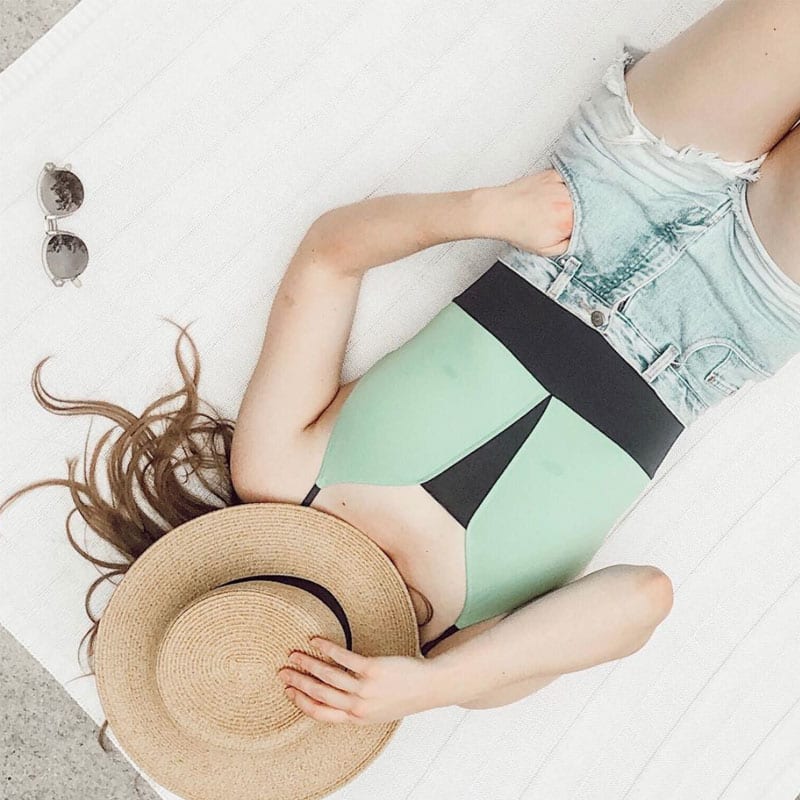
Editing photos on your phone can be both amazing and so confusing. There are literally hundreds, if not thousands of photo editing apps – each promising to be the best. There are so many ways to edit your photos to make them Instagram ready, but I wanted to let you in on my top 5 photo editing apps that I use on a regular basis to edit directly from my iphone!
You don’t need anything fancy to take your photos from blah to Instagram worthy! Here are my favorite FREE or less than $3 mobile photo editing apps that I use everyday to edit my Instagram photos.
- Lightroom CC: Lightroom is my homebase photo editing app. I always start here. It is totally FREE and you don’t need a subscription to Adobe Creative Cloud to use it. I start in lightroom by cropping, and rotating my photos to make sure all the lines are straight and that its going to fit into whatever instagram or blog photo ratio that I need. I typically shoot in 4:3 ratio – I find that works the best for my instagram photos.
Here’s a brief video showing you how I use my lightroom presets to edit! - Snapseed: Another completely free photo editing app that is a game changer! My favorite things to do in Snapseed are selective color boosts, eye brightening ( using the portrait tool, setting eyes 1, then I reduce everything to zero except the eye clarity i adjust about halfway down) , and adding or taking away exposure around the edges of photos with the brush tool.
- Touch Retouch: This photo editing app costs $1.99 but it’s worth it!! I used to use the healing tool in Snapseed to take out unwanted items, but this one is the best! Literally night and day. GAME CHANGER. Trust me, just pay the $2..
- Later: If you’ve been wondering how to perfectly format your captions – look no further! Not only does Later let you plan out and test your posts, when you publish to instagram, it formats and saves all your spacing and paragraphs just as you typed it! No more smushed captions!
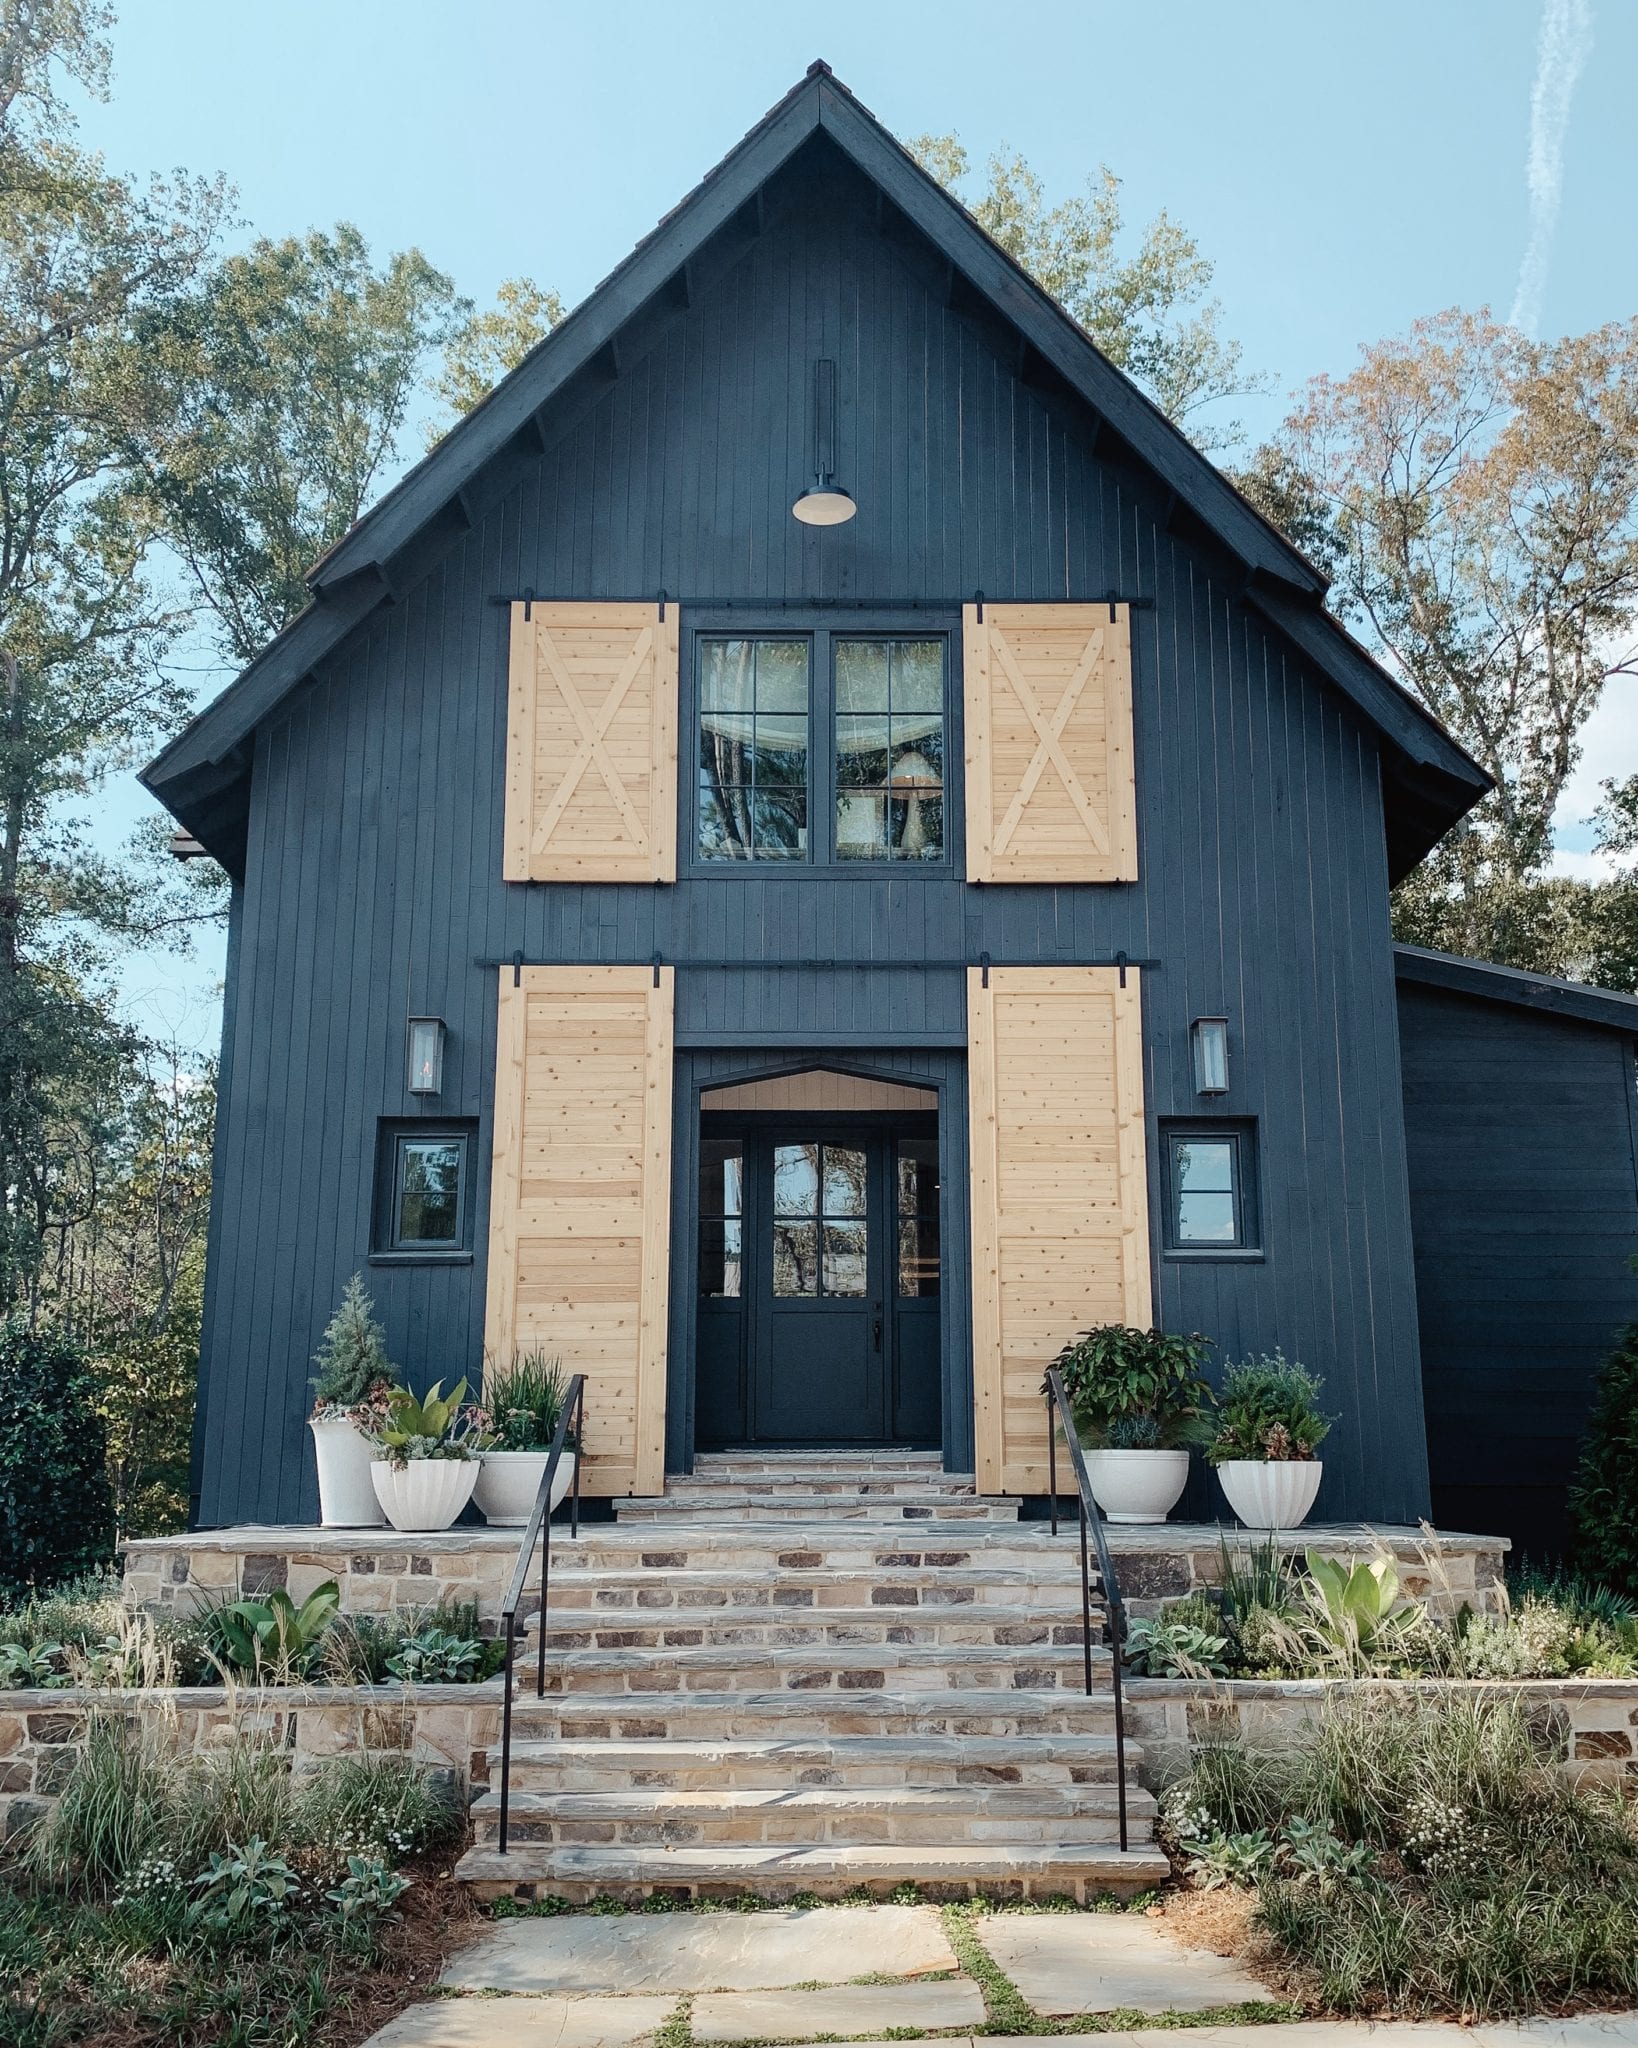
- Facetune: Some people have a love/ hate relationship with Facetune. You can use it to resize things in your images and there tends to be quite a few people who get a little overzealous ( see some hilarious facetune fails here). Love it or hate it Facetune is one of my go to photo editing apps. BUT – I actually find that this is my favorite photo editing app for making a standard iphone shot look a little more like a dslr. The Defocus tool is so helpful for that. I also love that you can edit the colors on specific objects, or add highlights to skin tones pretty easily. The Patch tool is also a must use. It makes taking out little spots here and there a breeze! Also great for covering up something in the background that you don’t want. See my examples below!
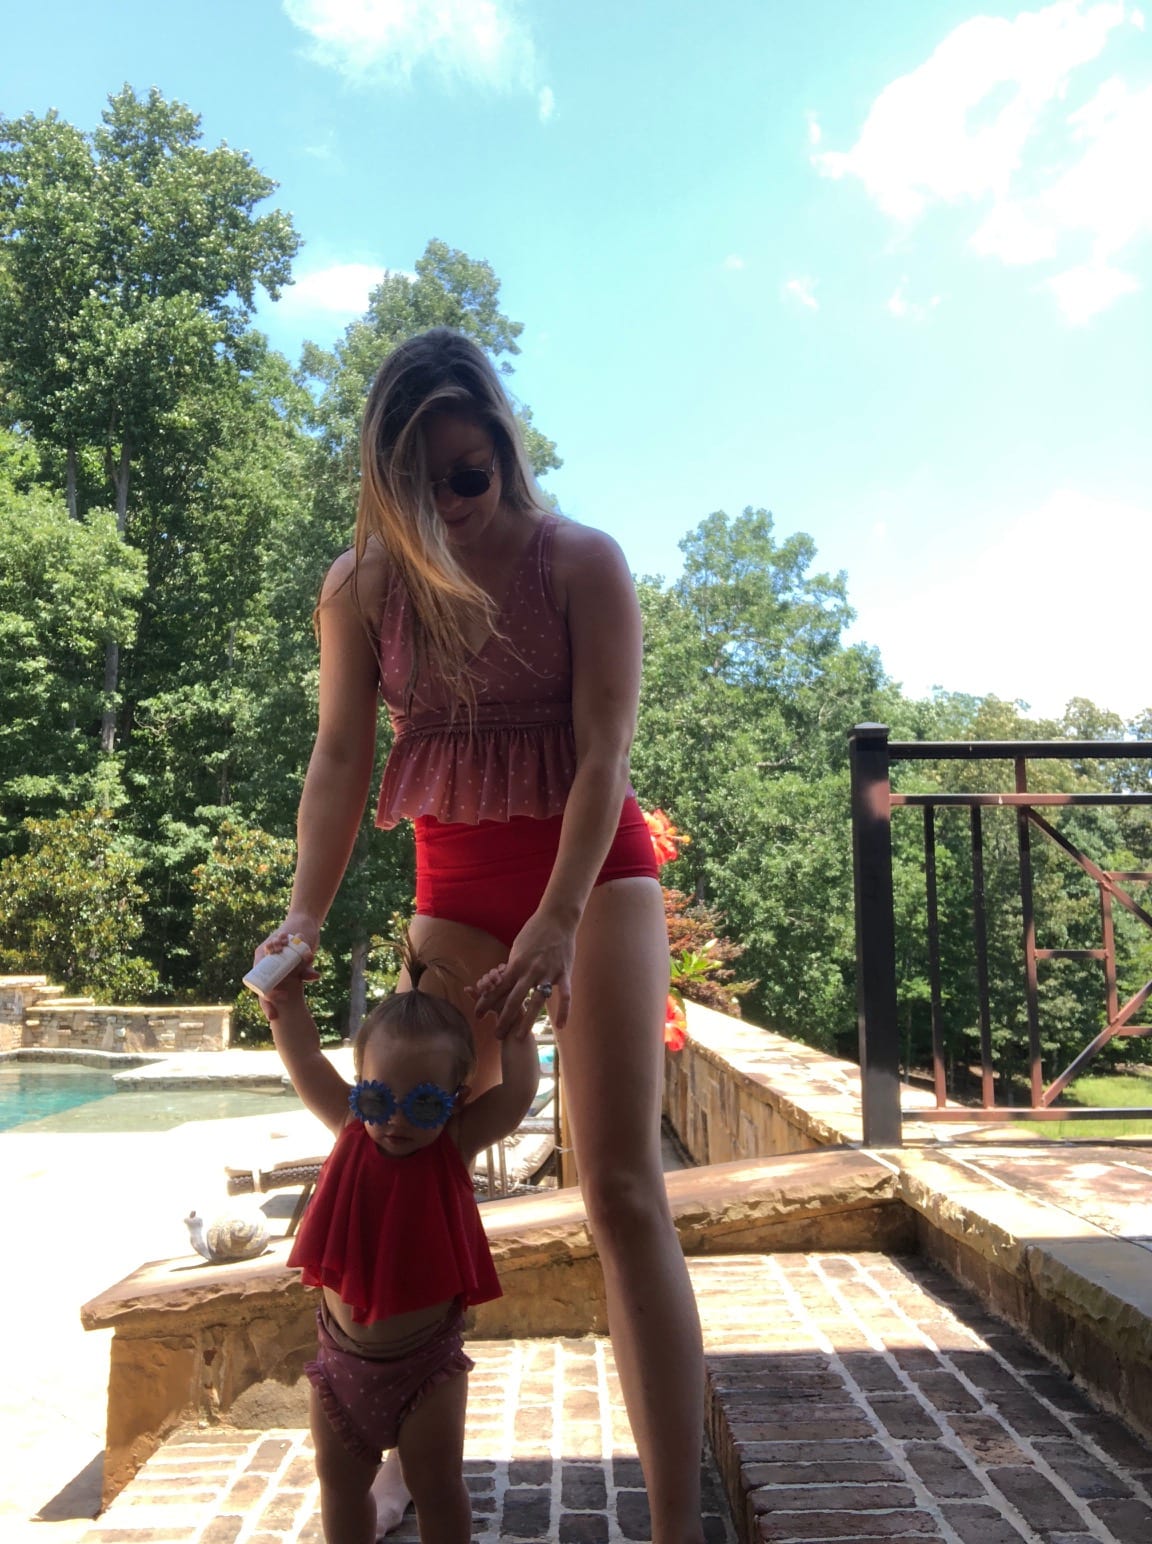
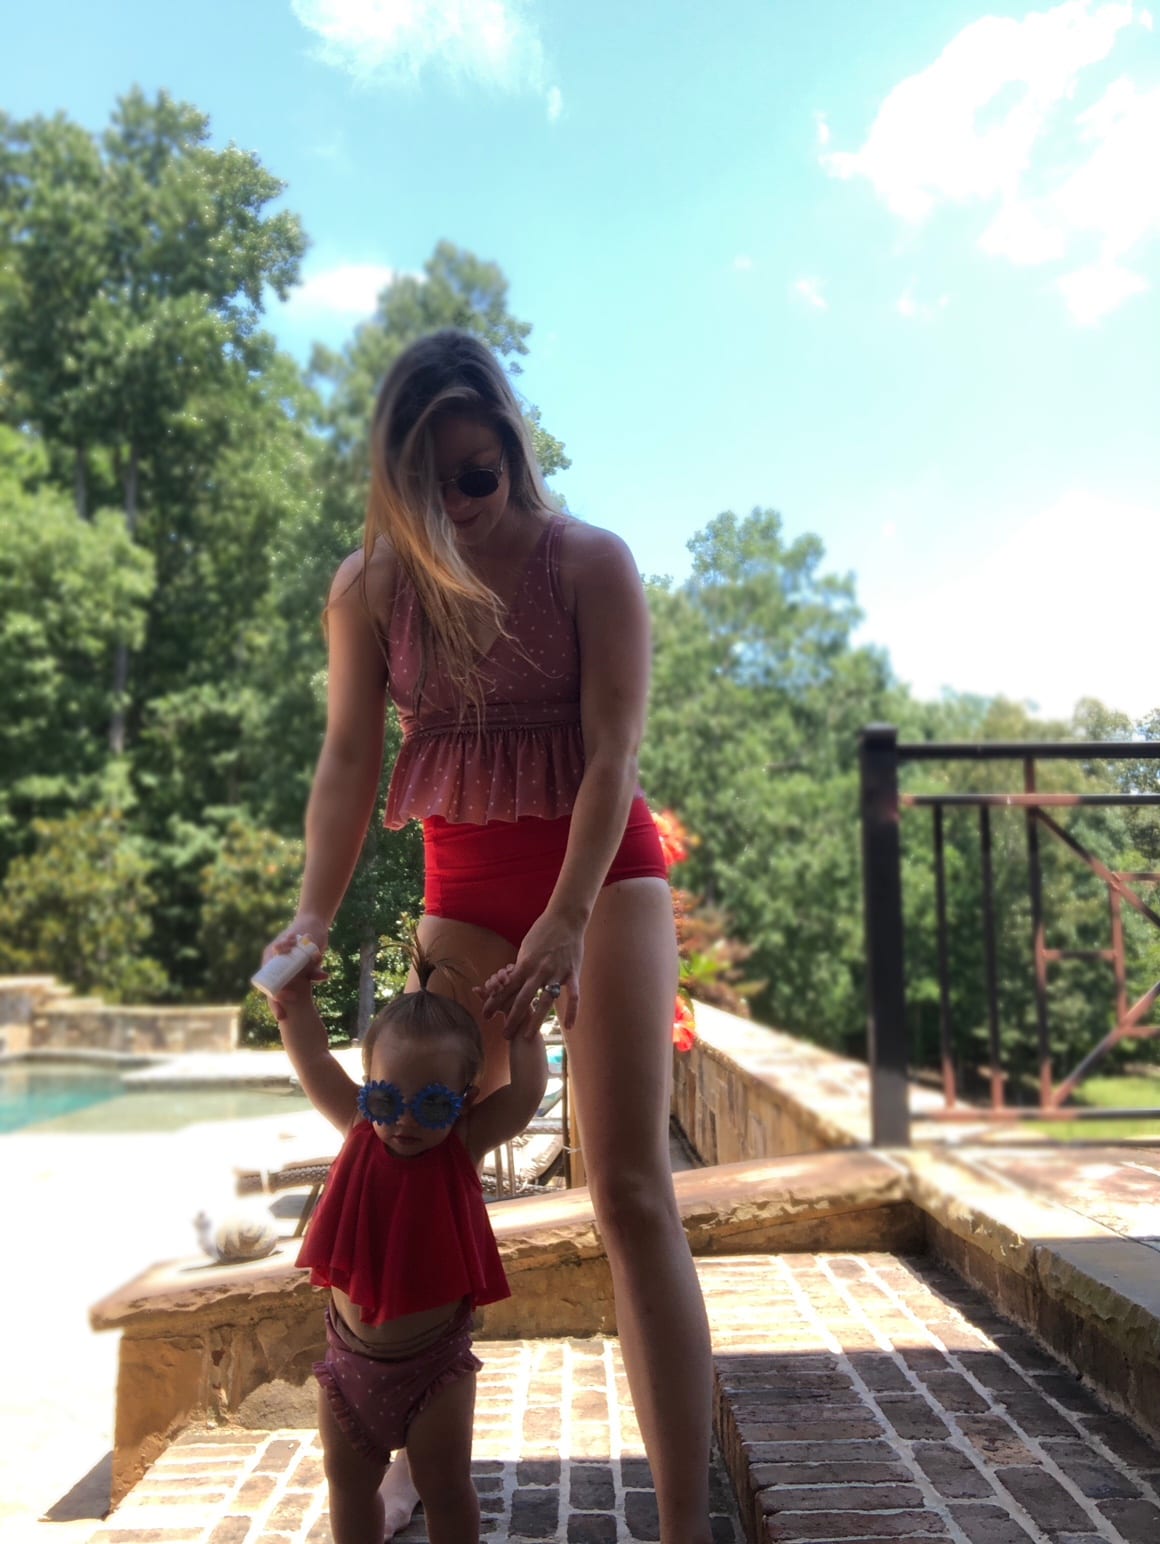
See the patch in action – the large spot on the fence is now much less noticeable 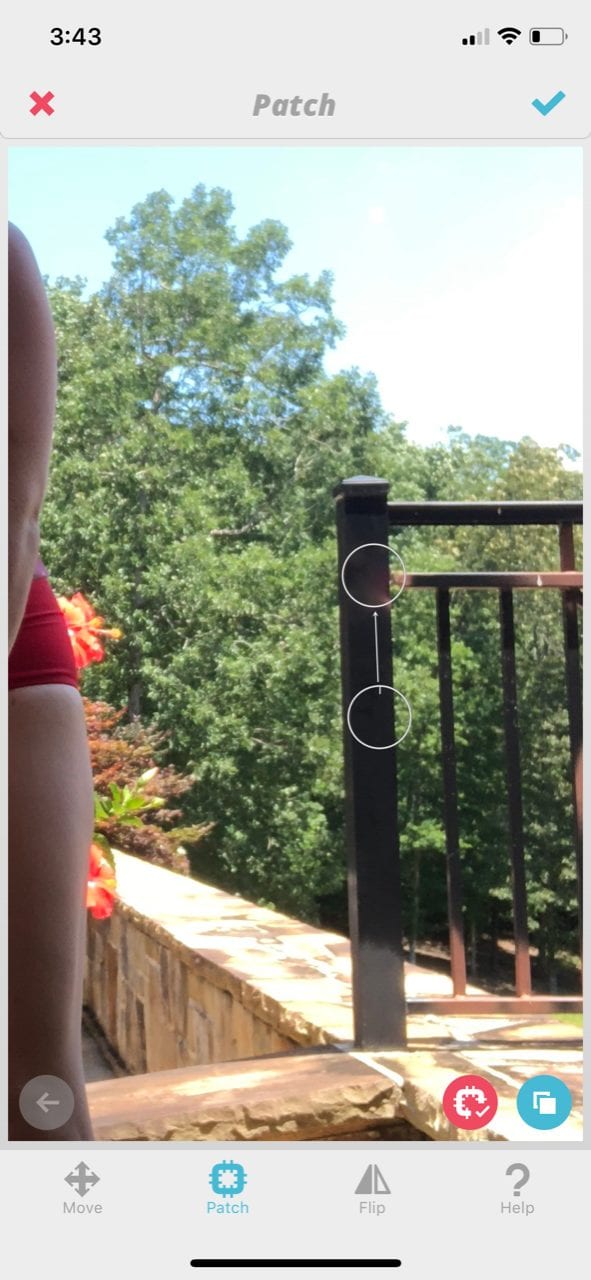
Let me know if you have any questions! I get asked all the time about how I edit my photos for Instagram and what photo editing apps I use – so here ya go! This is not everything, but these 5 photo editing apps are certainly my most used and the ones I think everyone should start with.
Need help choosing outfits for your now fabulously edited photos?! Read my post that covers my top 5 tips for easily coordinating your family’s outfits.
Happy Editing!
xo,
Katherine
Leave a Reply


[…] you want some tips on how to take photos like I have here in this post – check out my recent post on all my best […]
[…] can also read about my top 5 editing apps and instagram tips on this post I did a little while back! I show you how I edit and exactly which apps I […]
[…] My top 5 photo editing apps […]